¶ Integration Setup
¶ Part 1 - BO Cloud Setup
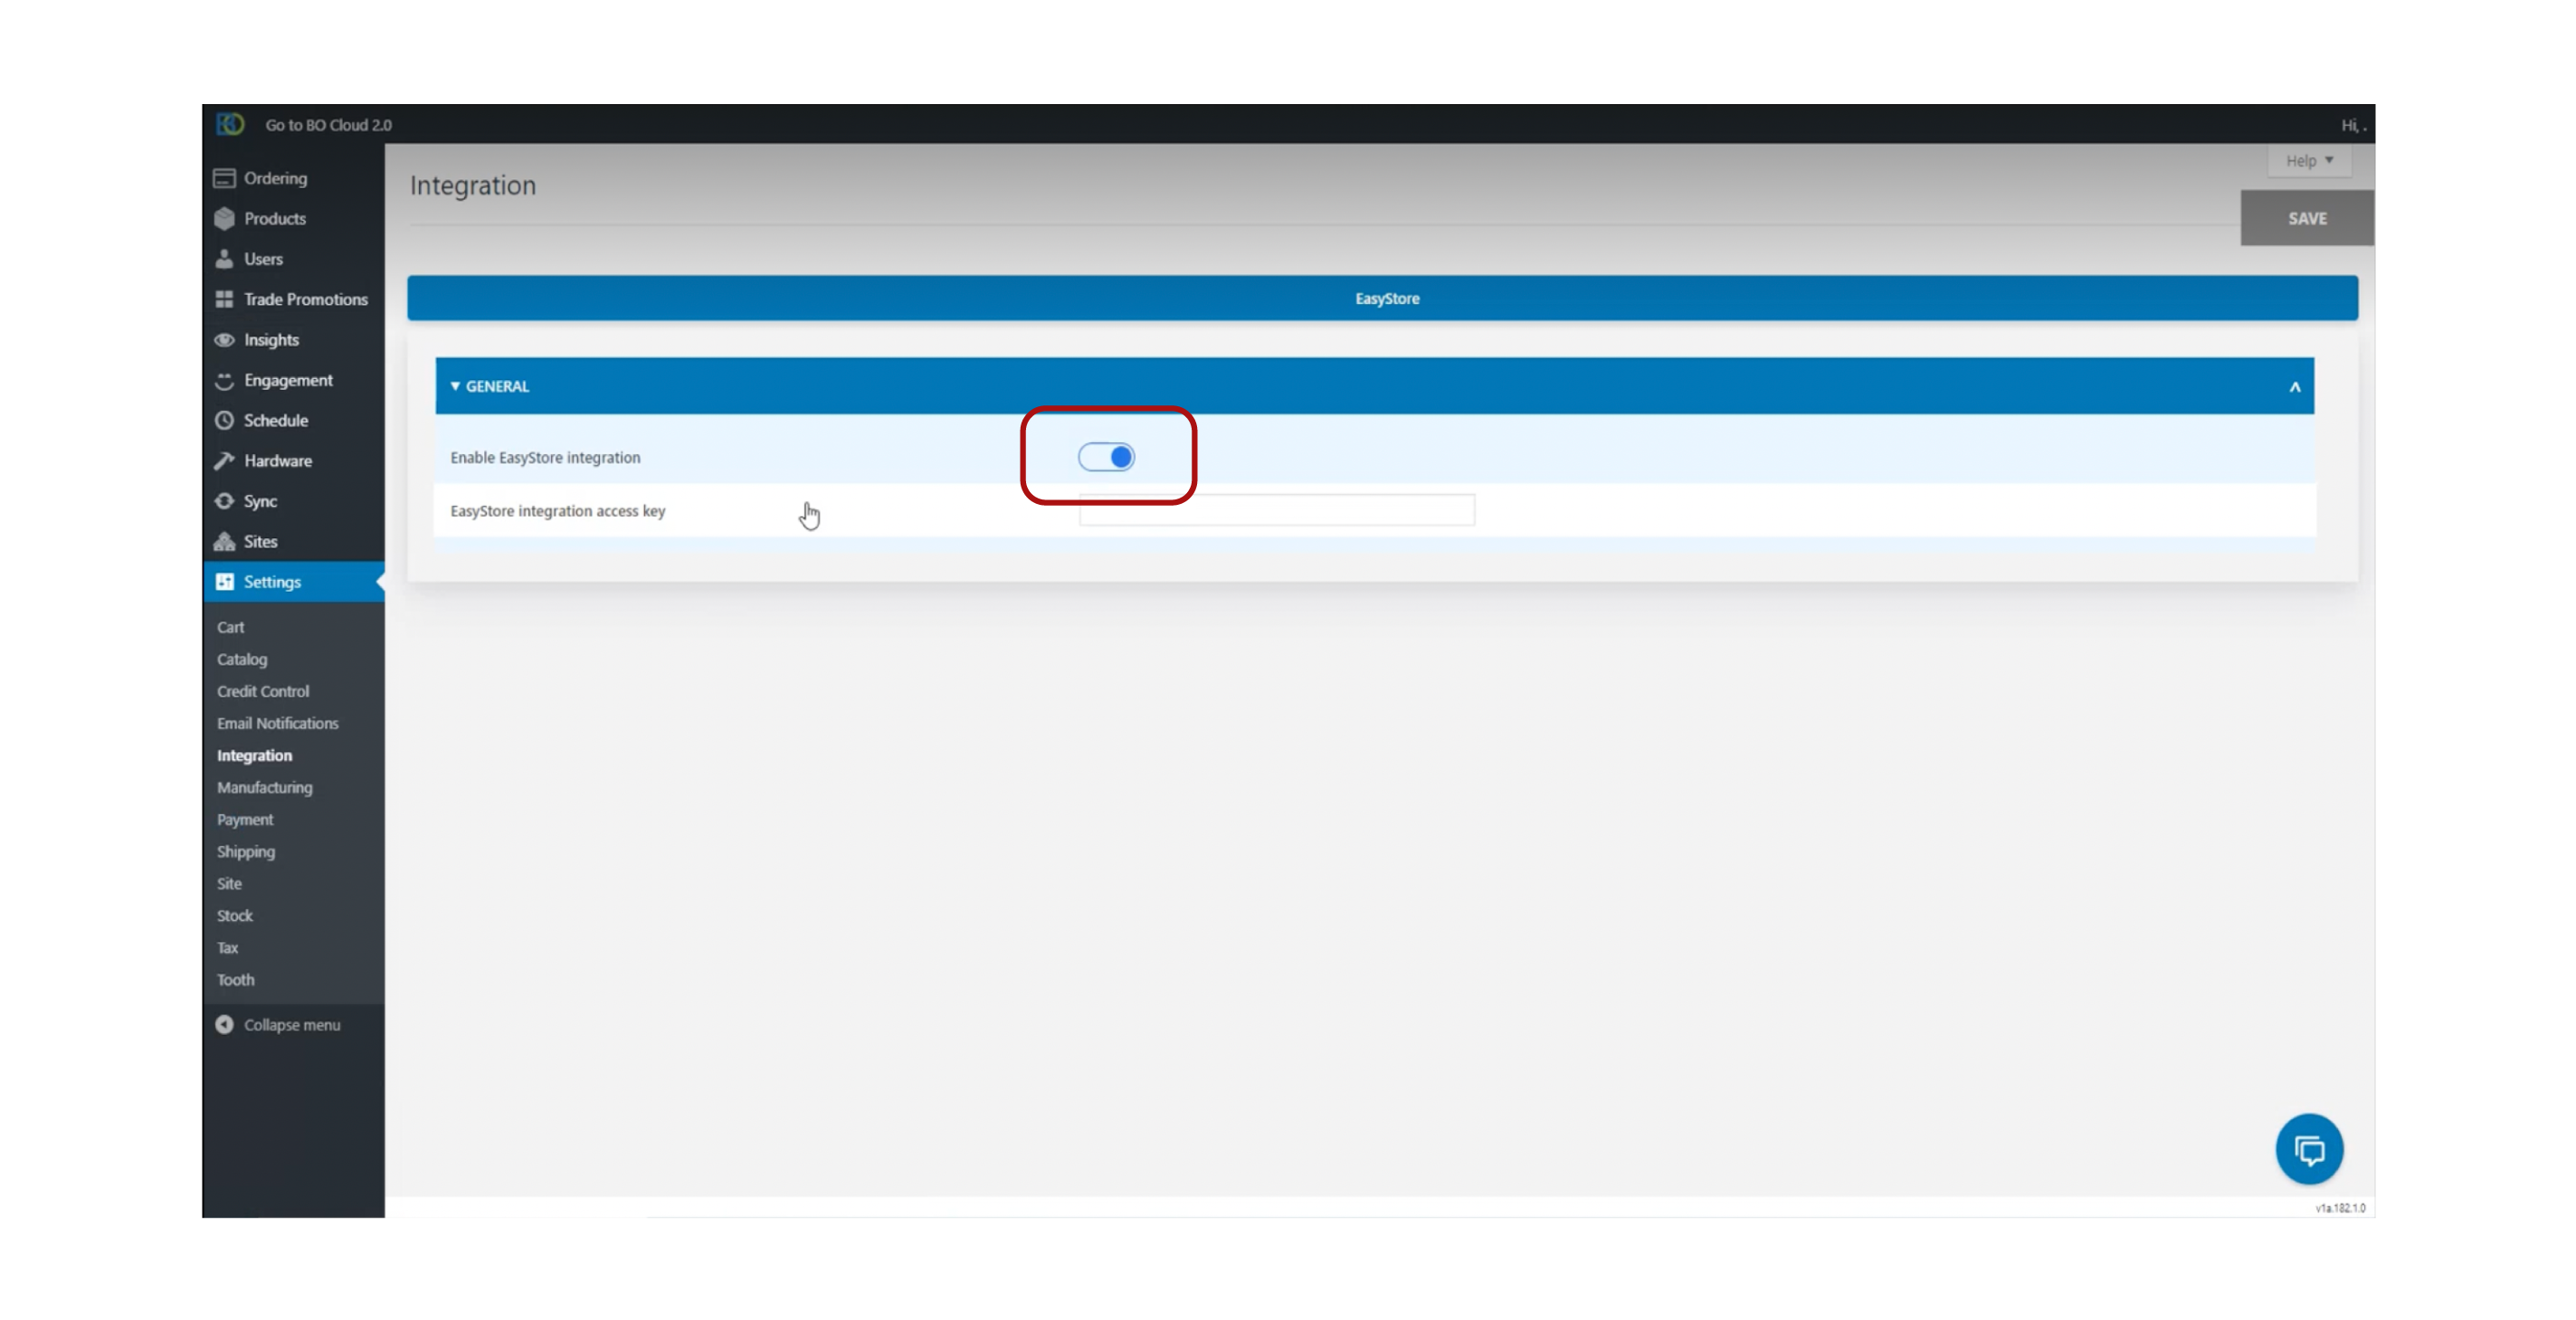
Before running Boostorder Syncer, open BO Cloud to enable Easystore integration by going to Settings > Integration > EasyStore > Enable EasyStore Integration.
¶ Part 2- BO Syncer Setup
1. Login to BO Desktop Syncer. A welcome wizard screen will show up.
2. Click Get Started. You will be redirected to a new window.
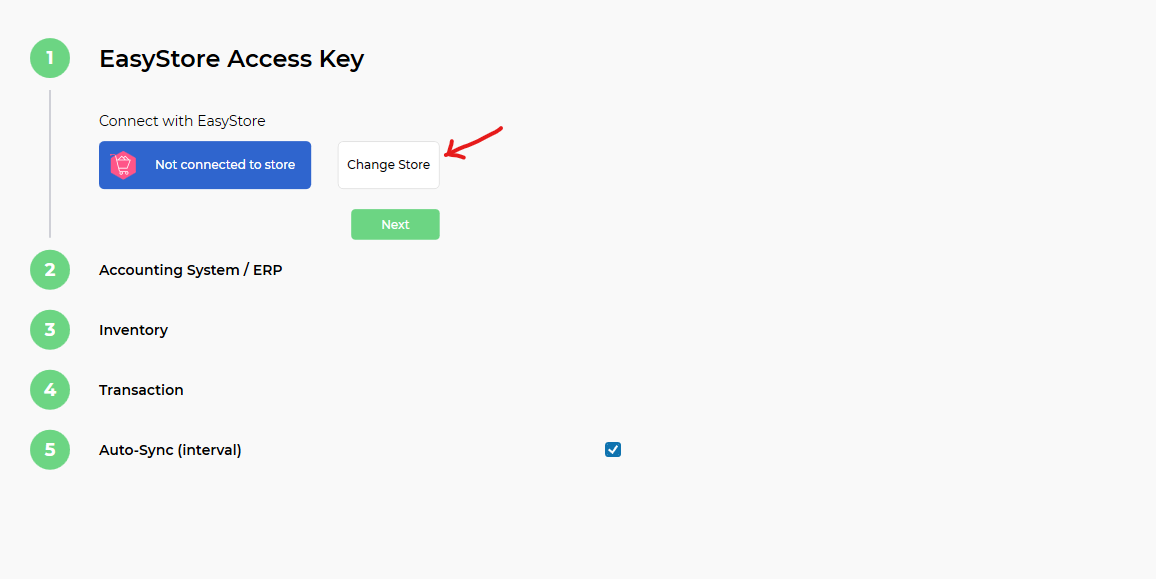
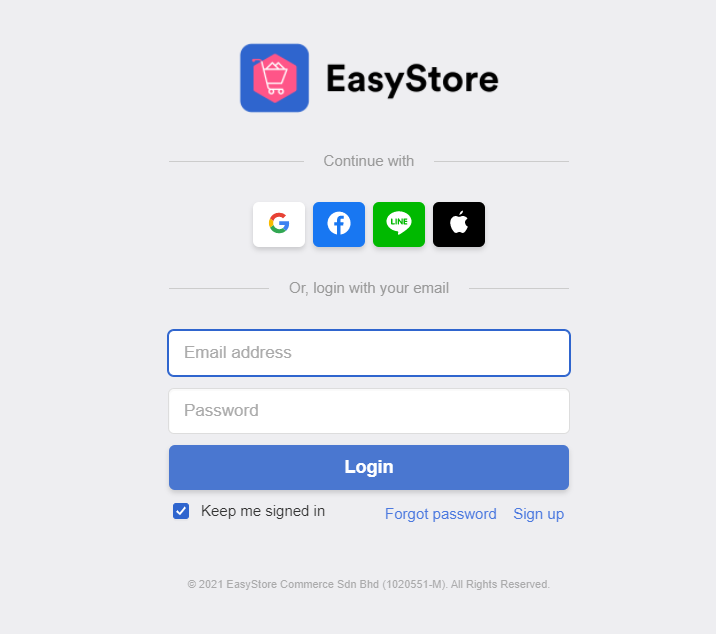
3. Click Change Store. This will prompt a new window from your internet browser. Log in to your EasyStore account.
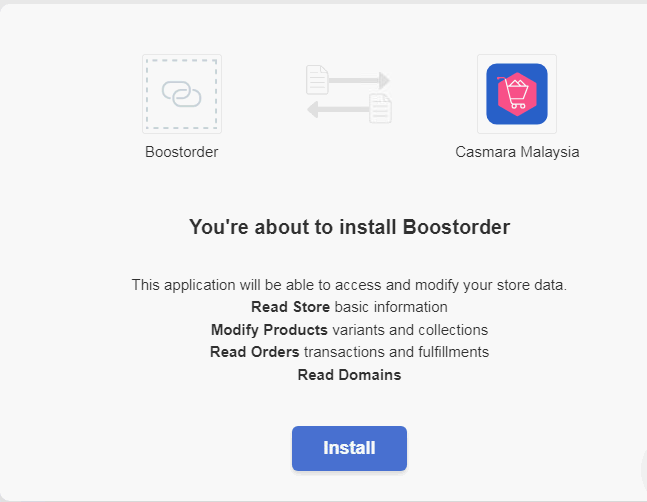
4. Upon logging in, you will be directed to the Boostorder installation app page. Click on Install this app.
5. You will be directed to the success notification page after installation is complete.
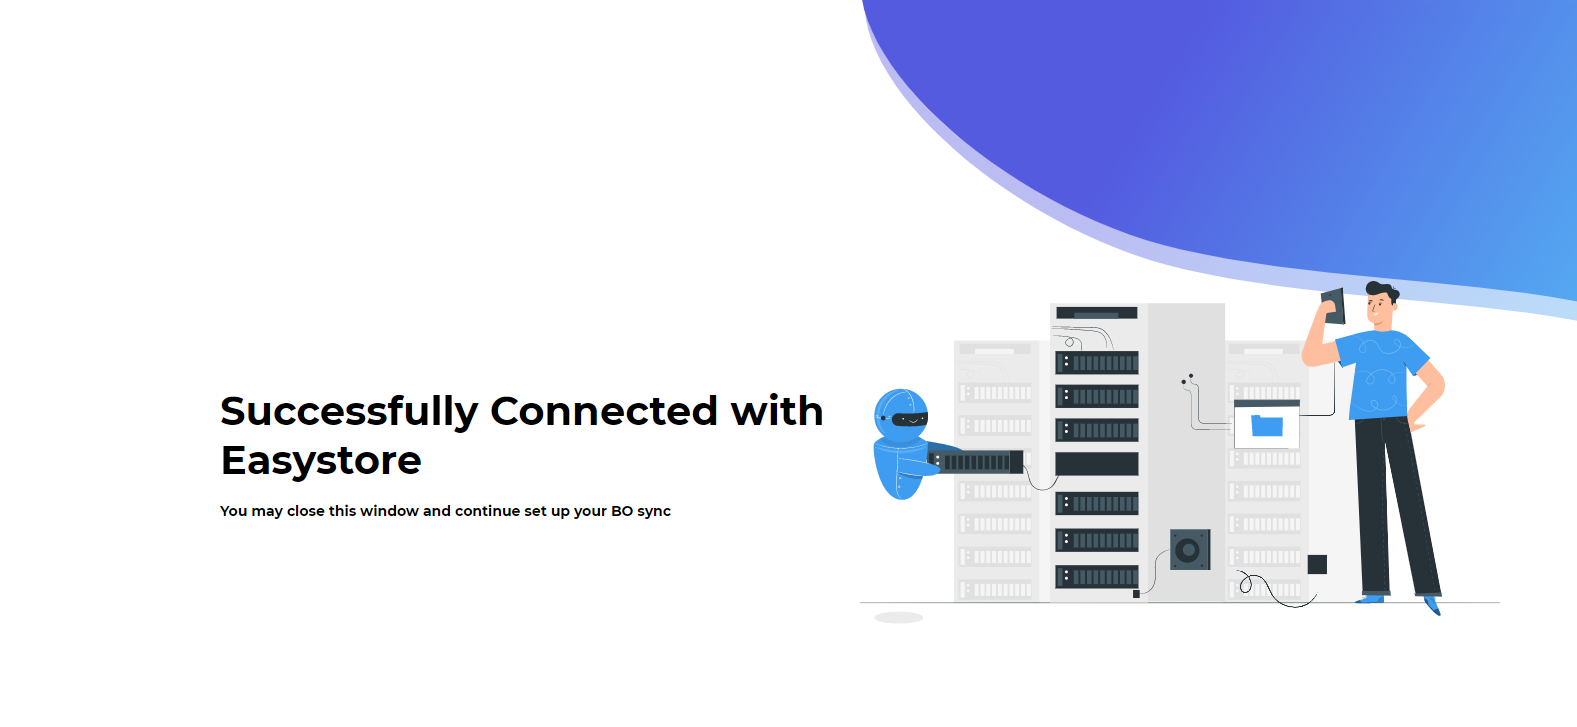
6. Close the window and return to Boostorder Desktop Syncer.
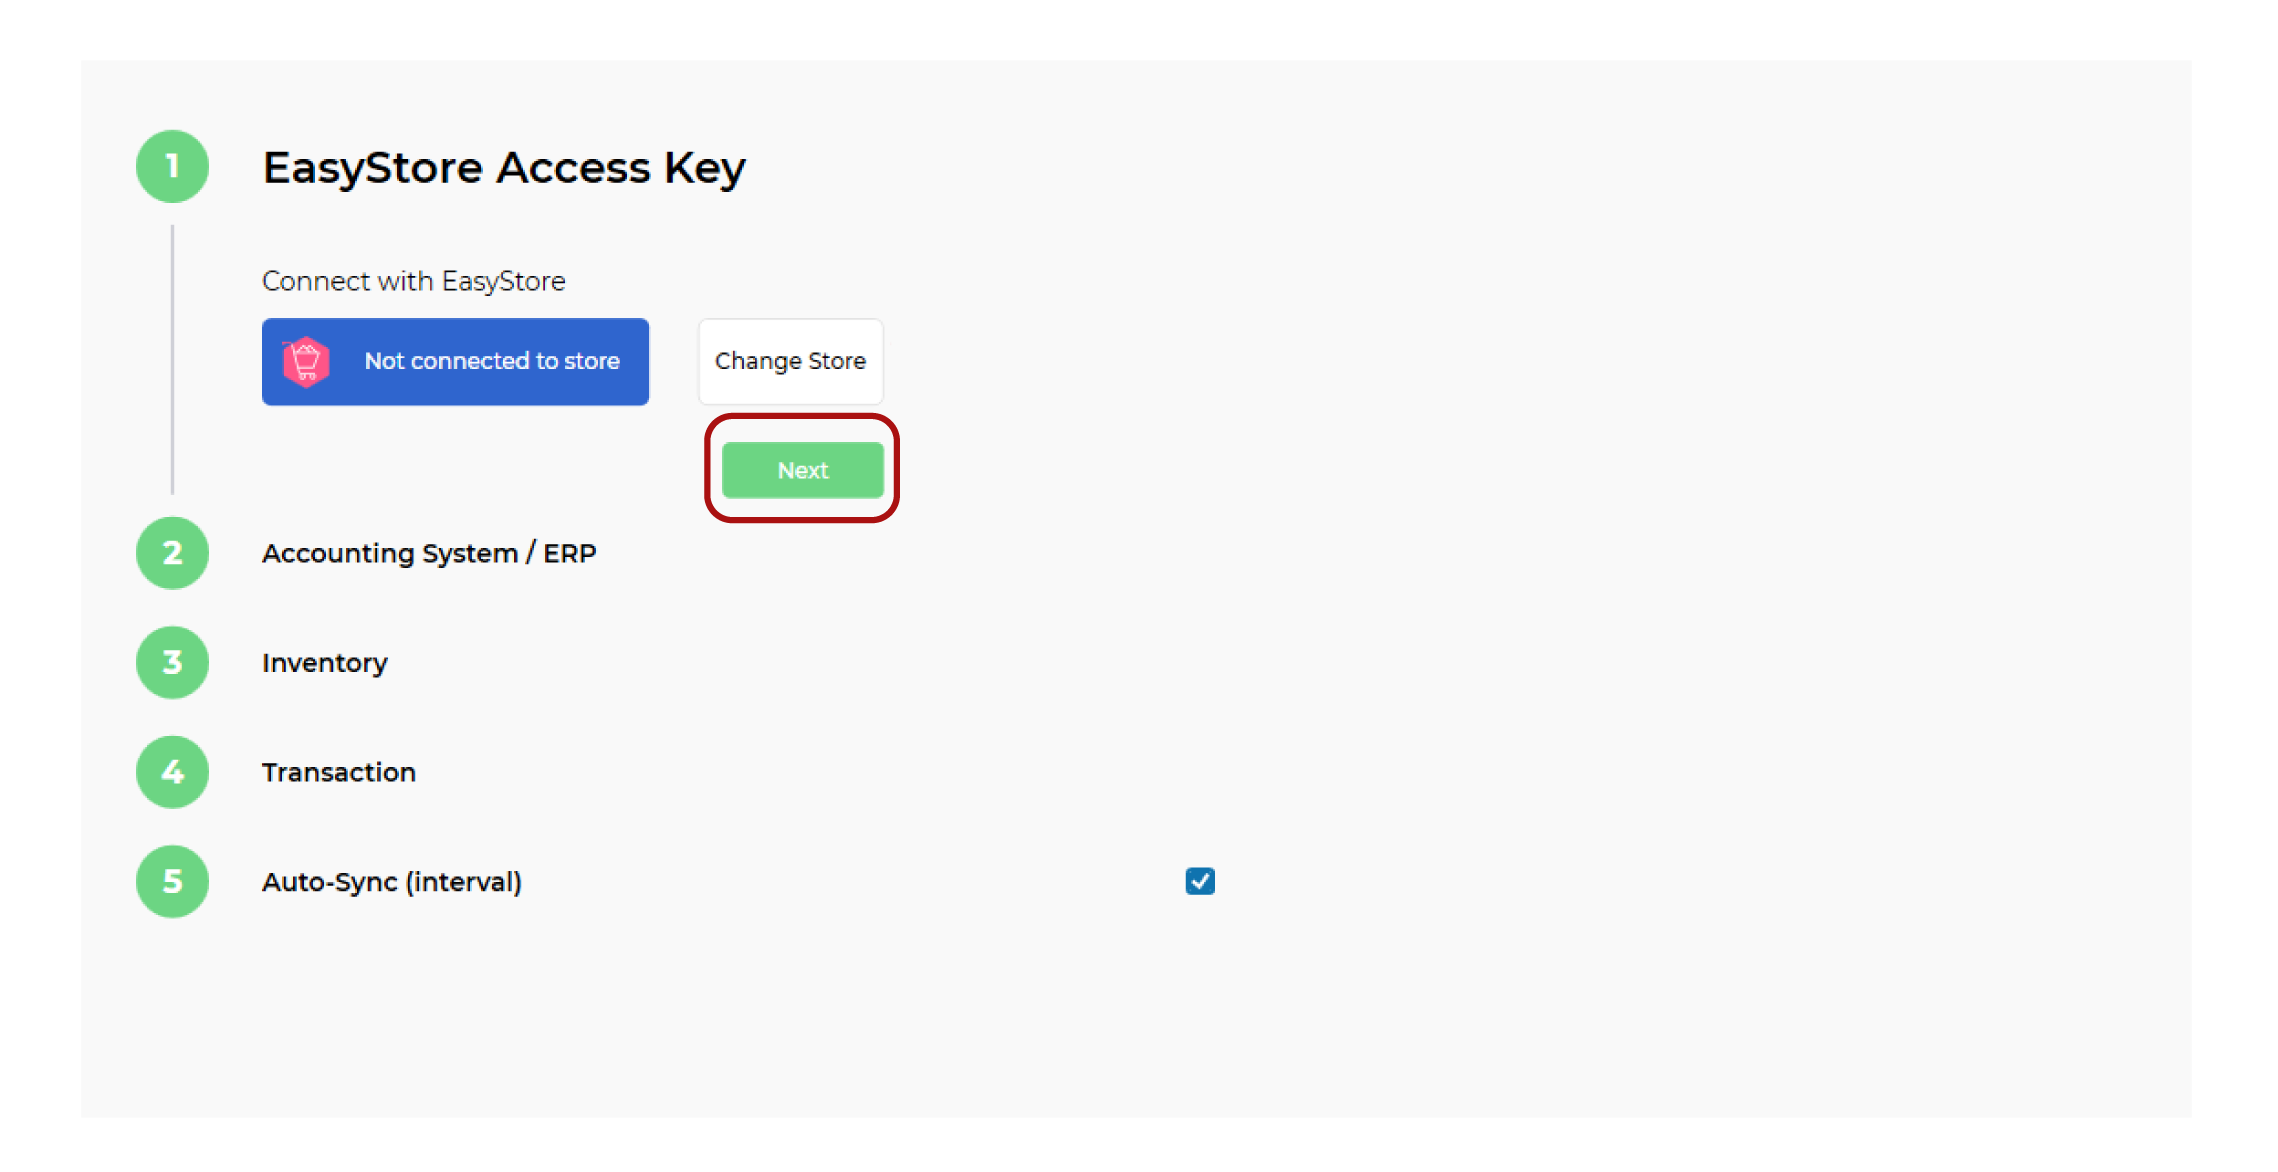
7. Click Next.
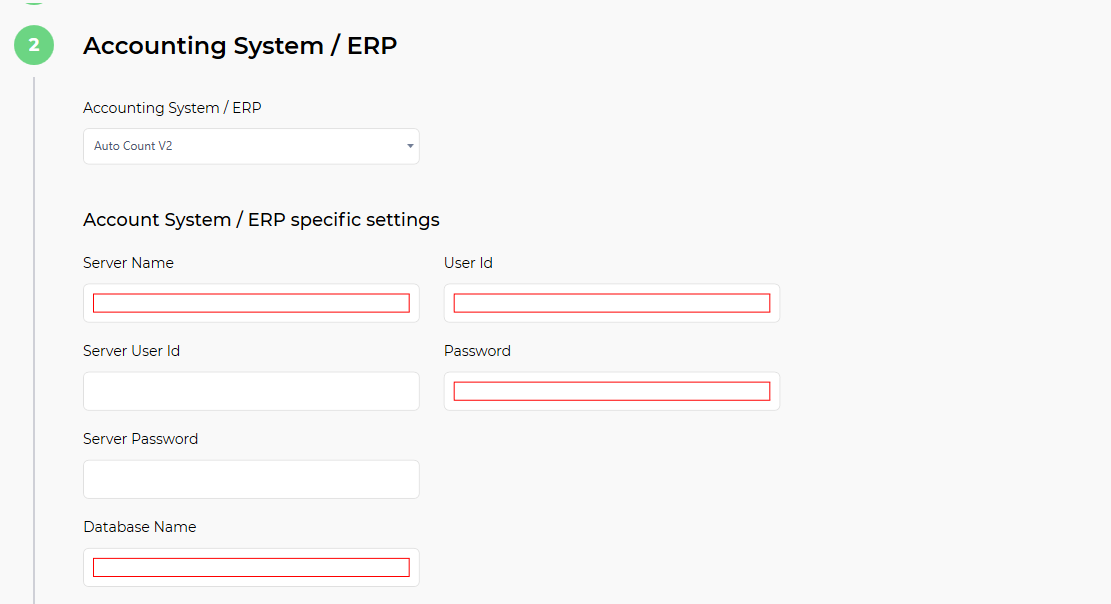
8. In step 2 (Accounting System / ERP), fill in the necessary field(s) and click Next.
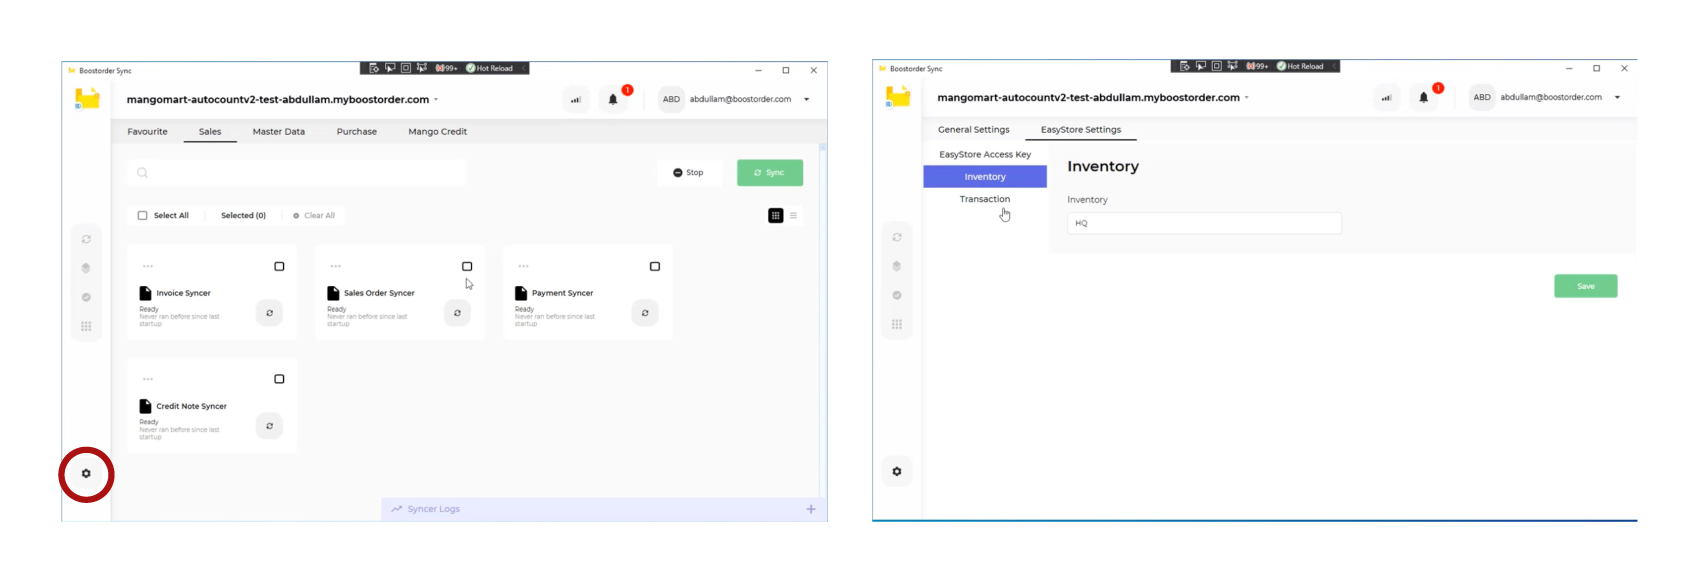
9. In Step 3 (Inventory), fill in the inventory field and click Next.

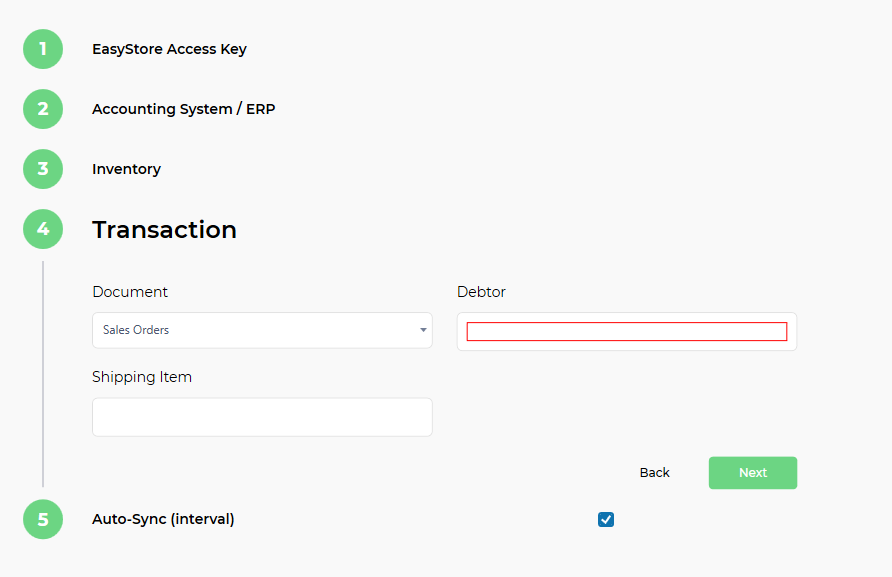
10. In Step 4 (Transaction), fill in Debtor code and click Next. (Note: Shipping Item field is optional)
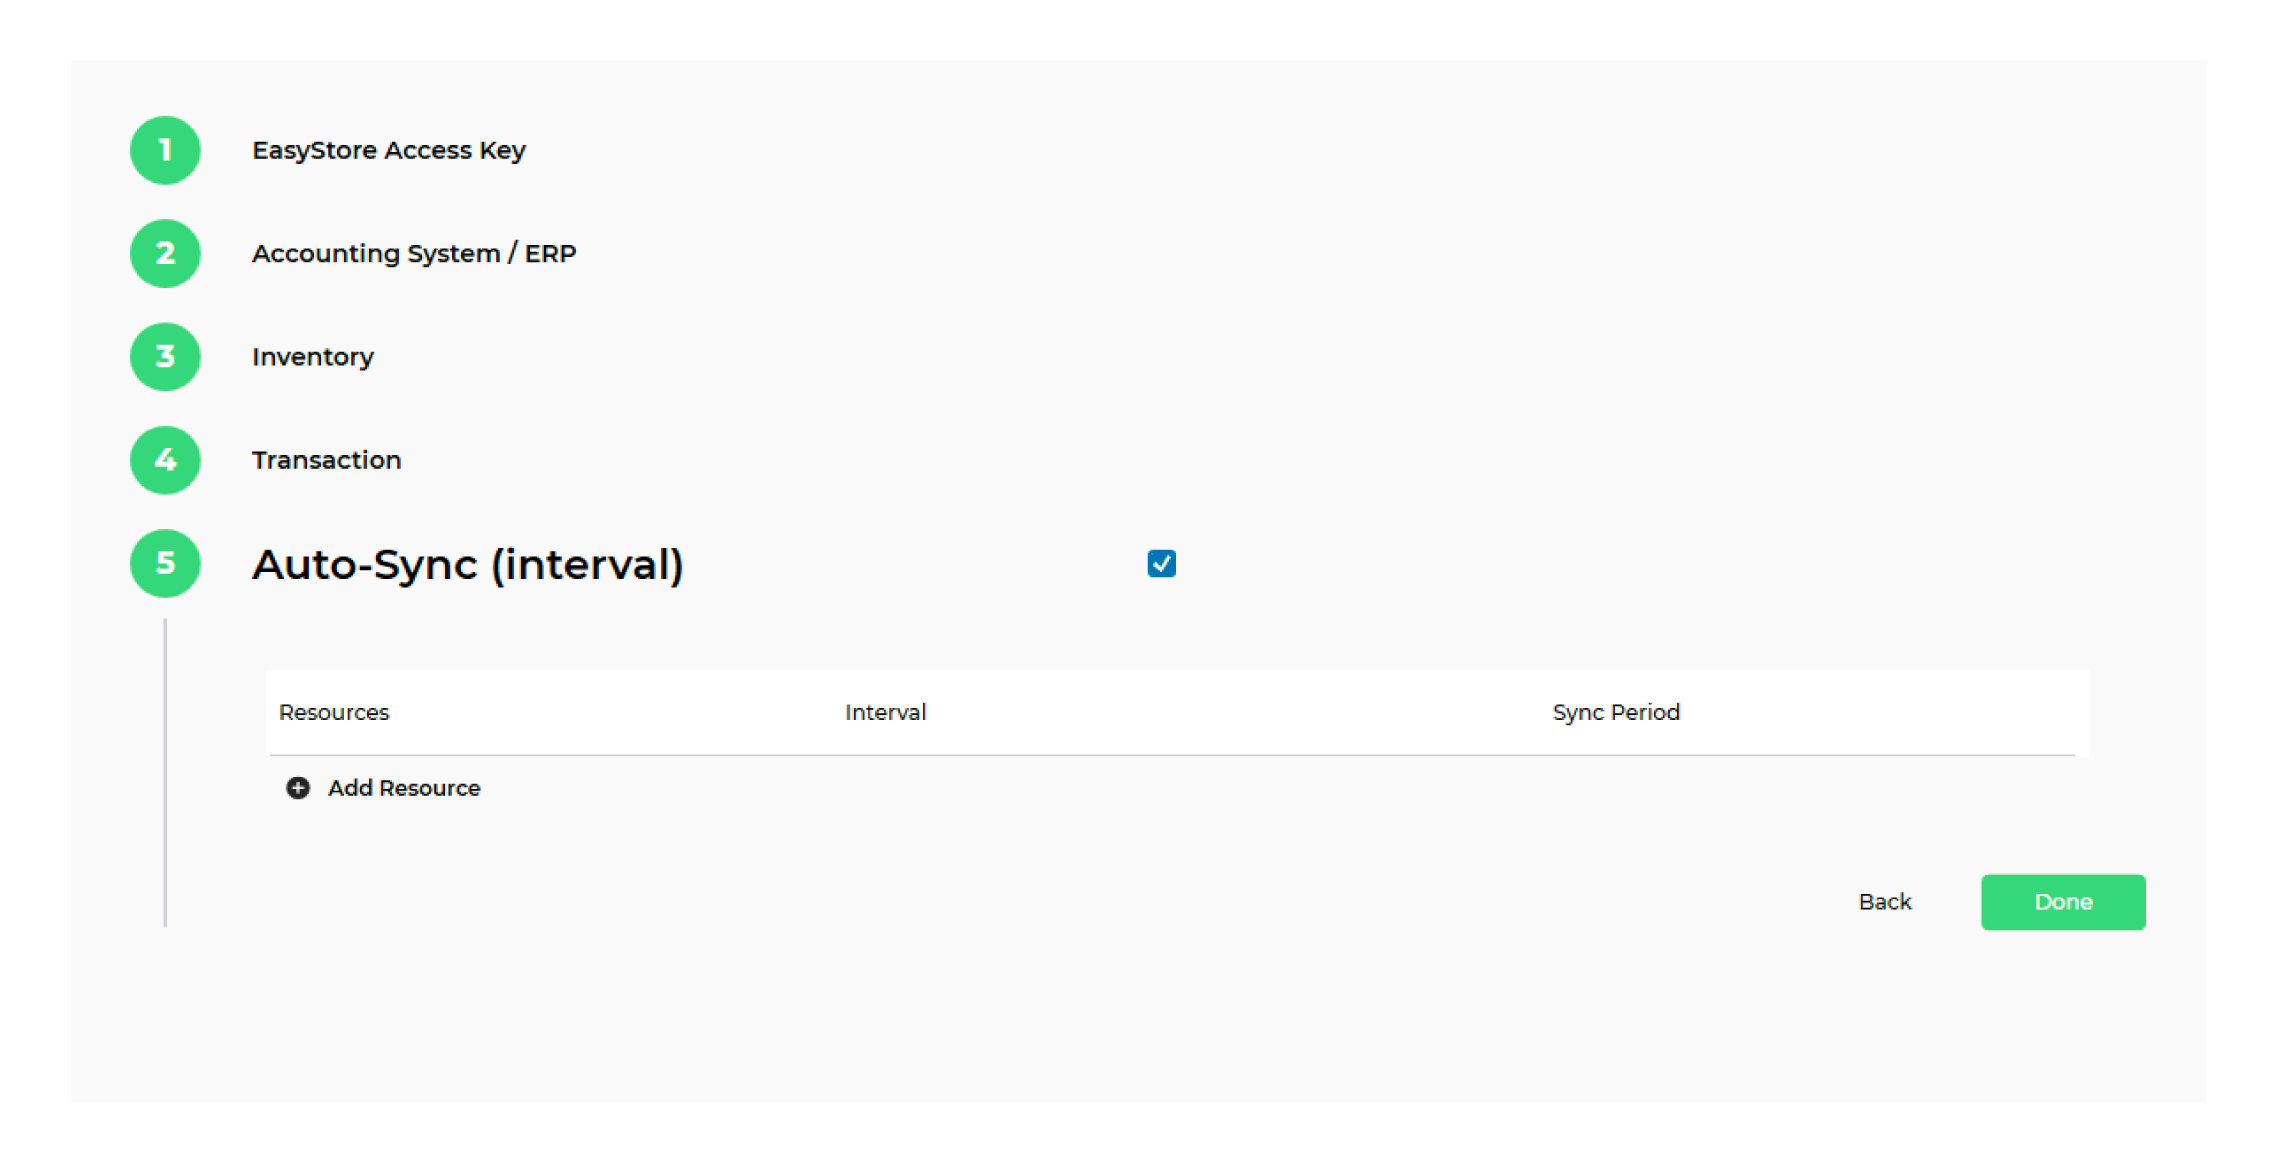
11. In Step 5 [Auto-Sync (Interval)], you may configure your sync schedule(s) by clicking on Add Resource. (Note: this step is optional, you can configure it in Settings after this setup as well) Click Done.
12. This window will close. You may change or update any settings in the Settings tab in the Syncer.
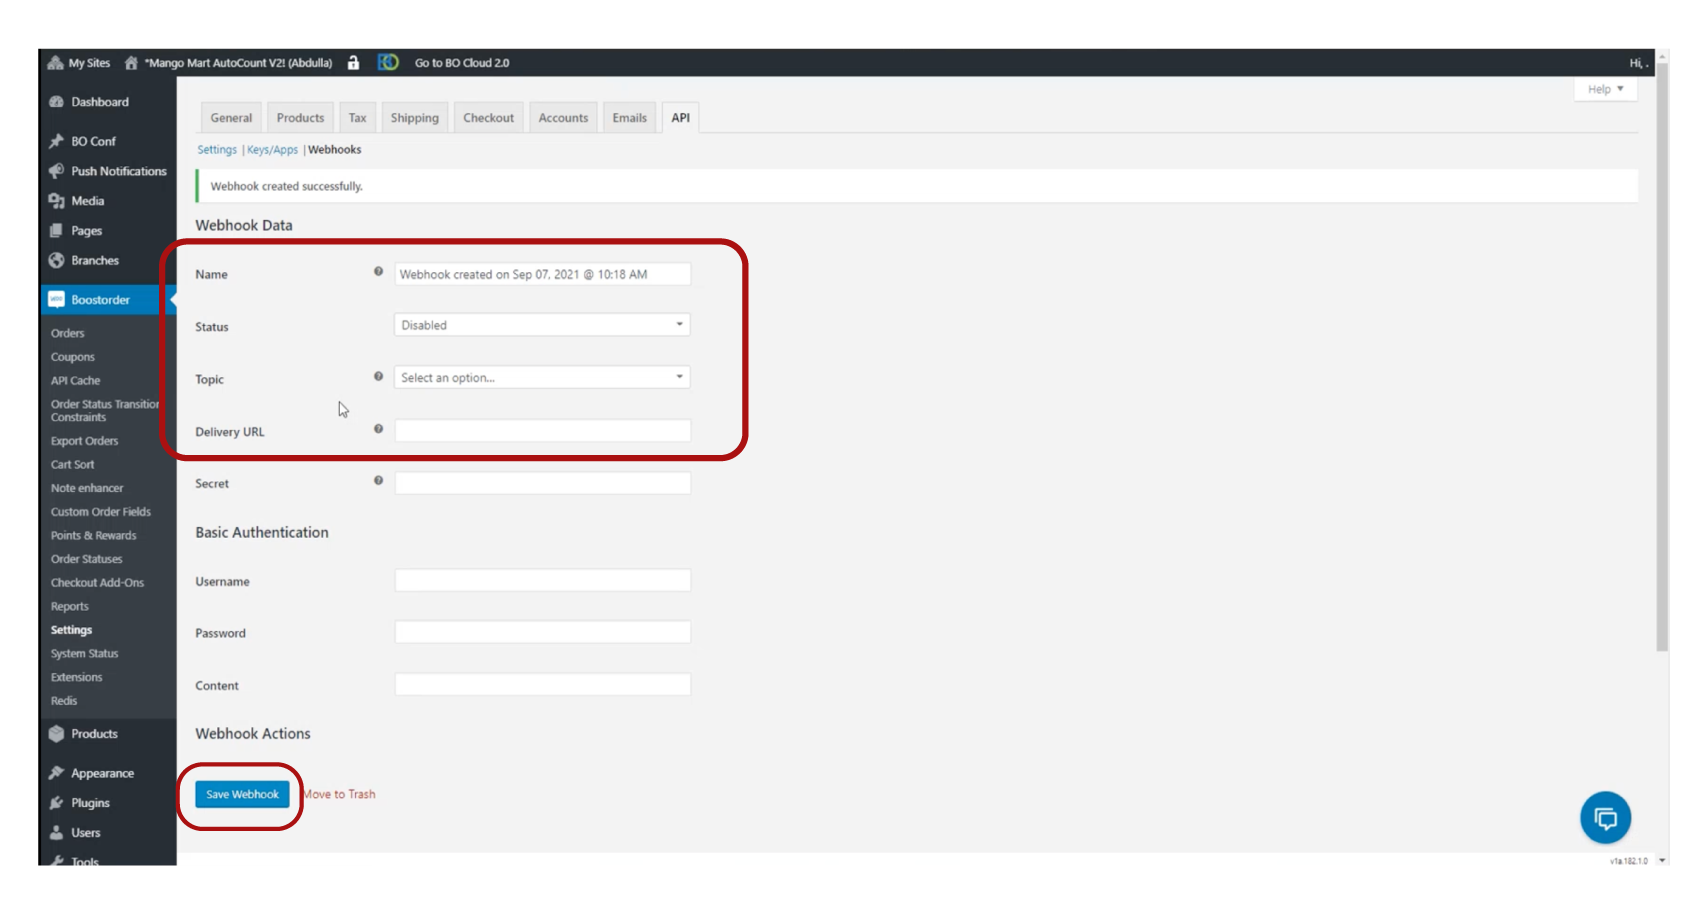
¶ Part 3 - Webhook Setup
1. Open BO Cloud, hover over to Boostorder on the left navigation tab, click on Settings > API.
2. Click Webhooks.
3. Click Add Webhook.
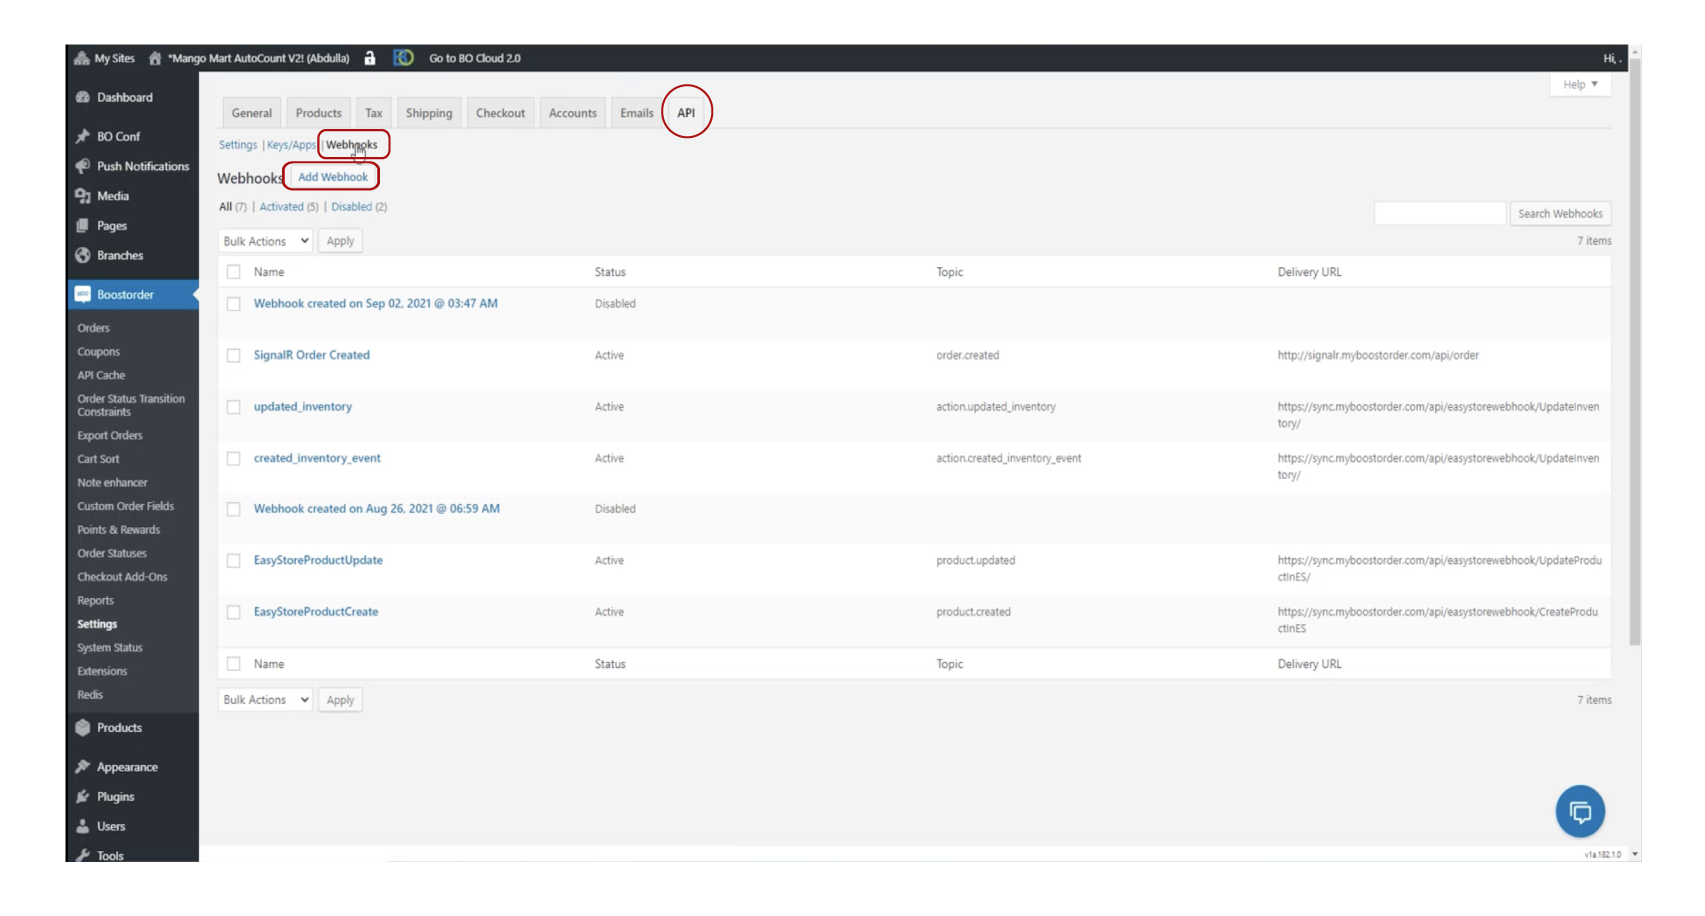
4. You will need to add 4 webhooks as shown below. You can only create one webhook at a time. Click Save after you have created the first webhook, and repeat step 3 above until you finish creating all the webhooks.
EasyStoreProductCreate
- Name: EasyStoreProductCreate
- Status: Active
- Topic: Product Created
- Delivery Url: https://sync.myboostorder.com/api/easystorewebhook/CreateProductInES/
- Save
¶ EasyStoreProductUpdate
- Name: EasyStoreProductUpdate
- Status: Active
- Topic: Product Updated
- Delivery Url: https://sync.myboostorder.com/api/easystorewebhook/UpdateProductInES/
- Save
¶ CreatedInventory
- Name: CreatedInventory
- Status: Active
- Topic: Action
- Action Event: created_inventory_event
- Delivery Url: https://sync.myboostorder.com/api/easystorewebhook/UpdateInventory/
- Save
¶ UpdatedInventory
- Name: UpdatedInventory
- Status: Active
- Topic: Action
- Action Event: updated_inventory
- Delivery Url: https://sync.myboostorder.com/api/easystorewebhook/UpdateInventory/
- Save